Component: Tart Dough
You can go far with a good tart dough. The sturdier, more European cousin to pie dough (call it pâte brisée if you want to sound sophisticated or possibly pretentious), it comes out with a bit more structure than a flaky pie crust, able to handle a wet, heavy filling and still remain sturdy enough that you can pick up a slice and eat it out of hand. It’s a recipe you can do a lot with, able to take both sweet fillings like pastry cream or savory ones like quiche. The most surprising and least sophisticated part of this particular recipe, though, is that its existence is directly attributable to Guy Fieri.
Making the dough takes just a few minutes; the only really interesting part is the process of combining the butter with the dry ingredients. The idea is to coat the flour in butter, which will prevent it from forming excess gluten when you add liquid later. The size of the pieces of butter left over also play a key role in the final texture of the dough–compare flaky, layered pie dough, which is made with fairly large pieces of butter, with crumbly, tender scones or drop biscuits, which is made with smaller bits. Tart dough lies somewhere in the middle, with a few pea-sized pieces of butter interspersed in a sandy flour mixture.
A lot of recipes will have you do this in a food processor, but I don’t have one, and if I did, I wouldn’t want to deal with washing it if I didn’t have to. Instead, I use a technique inspired by an old episode of Diners, Drive Ins, and Dives which featured a restaurant that used a meat grinder to incorporate frozen butter directly into the flour they used to make biscuits. Working on a smaller scale, I’ve had success using a box grater to work in the butter: just grate some cold or frozen butter into the dry ingredients, give it a stir to coat the shreds in flour, and then work it in with your fingers to get the right final consistency.¹
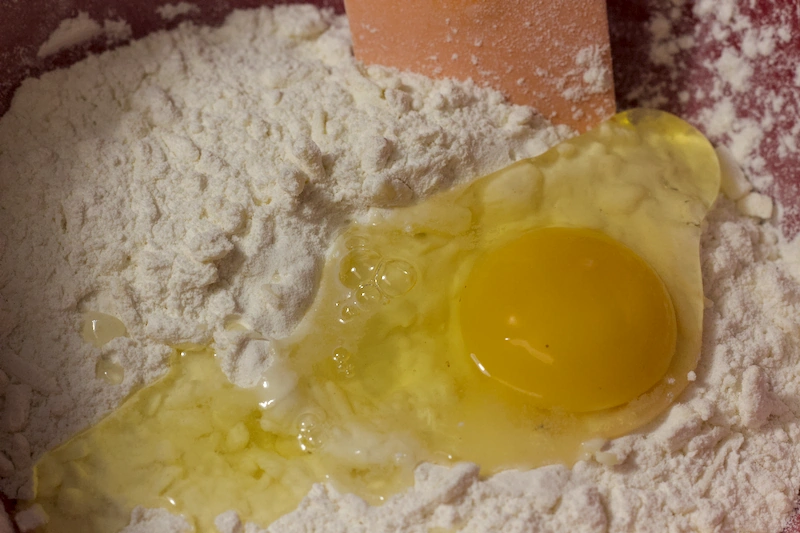
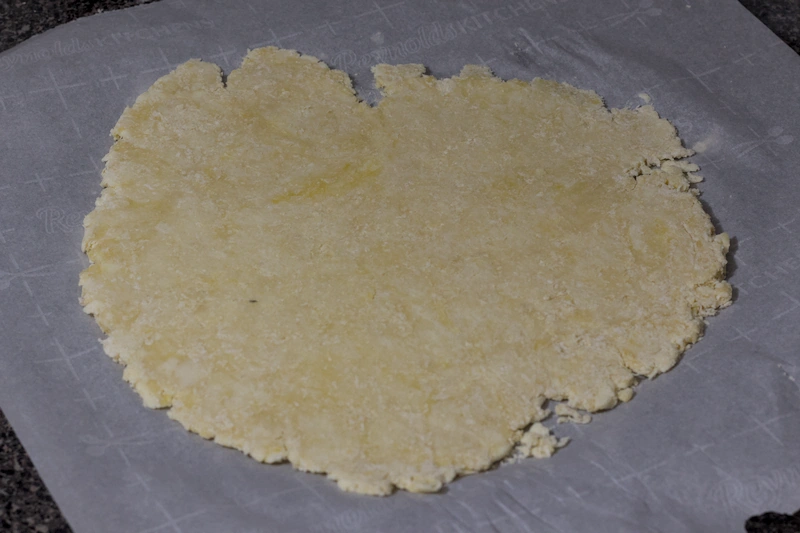
From there, just stir in an egg and a splash of water, knead the dough just enough for it to come together, and roll it out between two sheets of parchment paper. When rolling out the dough, be sure to rotate and flip it every few rolls, as well as peel off the parchment to keep it from sticking. If you work fast, use cold ingredients, and have a cool kitchen, you can roll the dough out right after mixing, but if you notice the dough feeling sticky or resisting rolling out further, give it a brief rest in the fridge for the butter to chill and the gluten to relax before continuing.
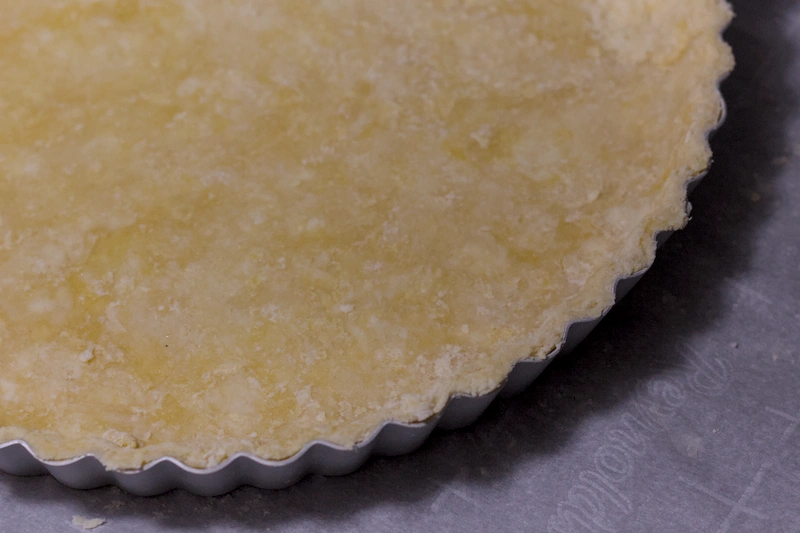
Once the dough is rolled out, fit it into your tart pan, being sure not to stretch it into the corners, but rather gently drape and press to avoid later shrinking. If you’ve got cracks, just trim off a bit of dough from somewhere with excess and press it into the gap to patch. Let it chill in the fridge for at least an hour to relax the gluten in the dough and allow it to fully hydrate. When ready to bake, dock the dough (i.e. prick the bottom all over with a fork, to keep it from puffing) and press a sheet of foil over the surface and into the corners.²
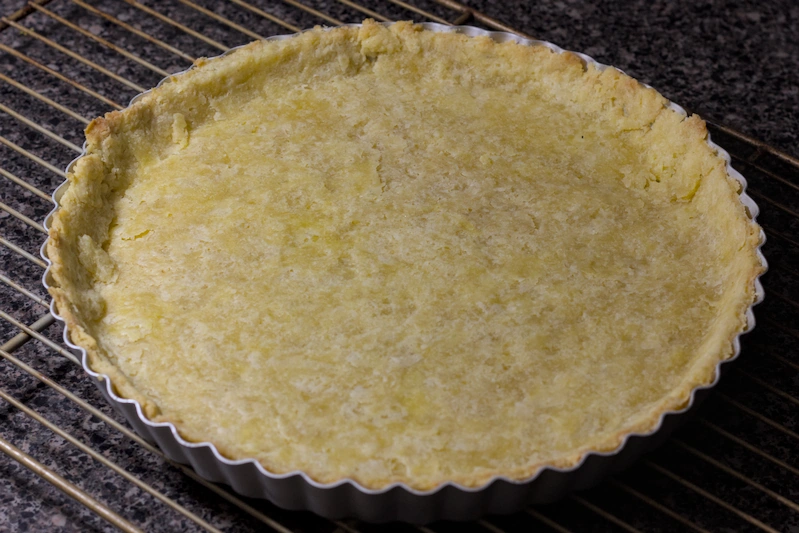
The last step is to bake the dough–until pale golden if you’re par-baking before filling it, or until golden brown if the filling won’t need further cooking. From there you can fill the crust with whatever you want. For ideas, just ask yourself: what would Guy Fieri do?
Uses
This dough is also unsweetened³, letting you use the same dough for both sweet and savory fillings. Some ideas:
- Guava cheesecake tart
- Make a quiche with some eggs, milk or cream, and whatever you have lying around that would be good in an omelette.
- Fill it with pastry cream and bake it to make a Parisian flan.
- Fill it with pastry cream and don’t bake it, then top with fruit.
Notes
- This is also how I make scones and biscuits. Just start with grated butter and then rub the shreds into the flour until you achieve the final texture desired.
- This is a tip I picked up from Claire Saffitz, who in turn credits Lindsey Shere. I haven’t done very thorough testing yet, but from what I’ve seen so far, the empty foil does somehow keep the dough in shape without needing any dried beans or pie weights.
- The teaspoon of sugar in the dough doesn’t make it appreciably sweet, but rather helps the crust brown better. Don’t omit it if making a savory tart, but you can increase the sugar to 2 teaspoons if you want when making a sweet tart.
Component: Tart Dough
Prep List
Equipment
Procedure
| Ingredients | Preparation |
|---|---|
|
6 oz (170 g, 1 1/4 cups) all-purpose flour 1 tsp granulated sugar 1/2 tsp Diamond Crystal kosher salt 6 Tbsp (3 oz, 85 g) unsalted butter, straight from the fridge |
1. In a medium bowl, whisk together flour, sugar, and salt. Grate butter directly into flour mixture, then stir with a flexible spatula to break up butter and mix with flour. Using your fingertips, rub butter into flour until mostly incorporated and sandy, with some pea-sized pieces of butter remaining. |
|
1 large egg, straight from the fridge 1 tsp cold water |
2. Form a well at the bottom of the bowl and add egg and water. Lightly beat with spatula, then stir together with flour mixture, at first with spatula but then by hand, just until a cohesive dough forms. If dry flour remains at the bottom of the bowl, add a few drops of water while mixing. |
| 3. Turn out dough onto a square of parchment paper, press into a disk, and cover with a second sheet of parchment. Roll into an 11-inch circle, frequently turning and flipping the dough packet so it rolls out evenly and peeling parchment paper off periodically to ensure dough doesn't stick. If dough becomes sticky or refuses to roll out further, transfer to a sheet tray, still between parchment, and chill in the refrigerator for 15 minutes before continuing. | |
| 4. Carefully transfer crust to tart pan, avoiding stretching the dough when pressing into the corners. If there are any cracks or gaps, trim a piece of dough from elsewhere to patch. Cover loosely with foil and refrigerate for at least 1 hour before baking. Now is a good time to get your filling ready. | |
| 5. While dough is chilling, preheat oven to 375°F/190°C. Remove dough from refrigerator and prick bottom all over with a fork. Trim the edges of the dough to be even with the lip of the pan. Cover dough again with foil, this time pressing into corners. | |
| 6. Transfer tart pan onto a sheet pan and bake for 20 minutes. Remove foil and bake for an additional 4 minutes for a par-baked crust, or an additional 7 to 10 minutes for a fully-baked one. Transfer to a rack and let cool. |